I've been using spray inks to color background paper for layouts and other projects for years now, but lately I've been having a lot of fun experimenting with the Color Burst Powders from Ken Oliver. I love that I can get full coverage with smooth blending from one color to the next, and just a little bit of this powder will go a long way. Here are a few easy techniques you can try yourself:

First I gather up what I'll need and take it into the bathroom. We have an older bathroom with a large tub near my craft space, so it allows me to be pretty messy with my projects. I would recommend testing the color on a small, inconspicuous spot before going full blown in your own tub, just to make sure it won't stain. I've been able to easily wash any color away, usually with just water, but with soap and a scrub brush if it's been sitting for awhile. You could also use a large plastic tote, bin, or laundry basket, too.
All I used for this project was some plain white cardstock, the Color Burst Powders, a spray bottle full of water, and I made a "clothesline" with twine and craft clothespins that I strung from the towel bar to the shower head over the tub.
Technique A
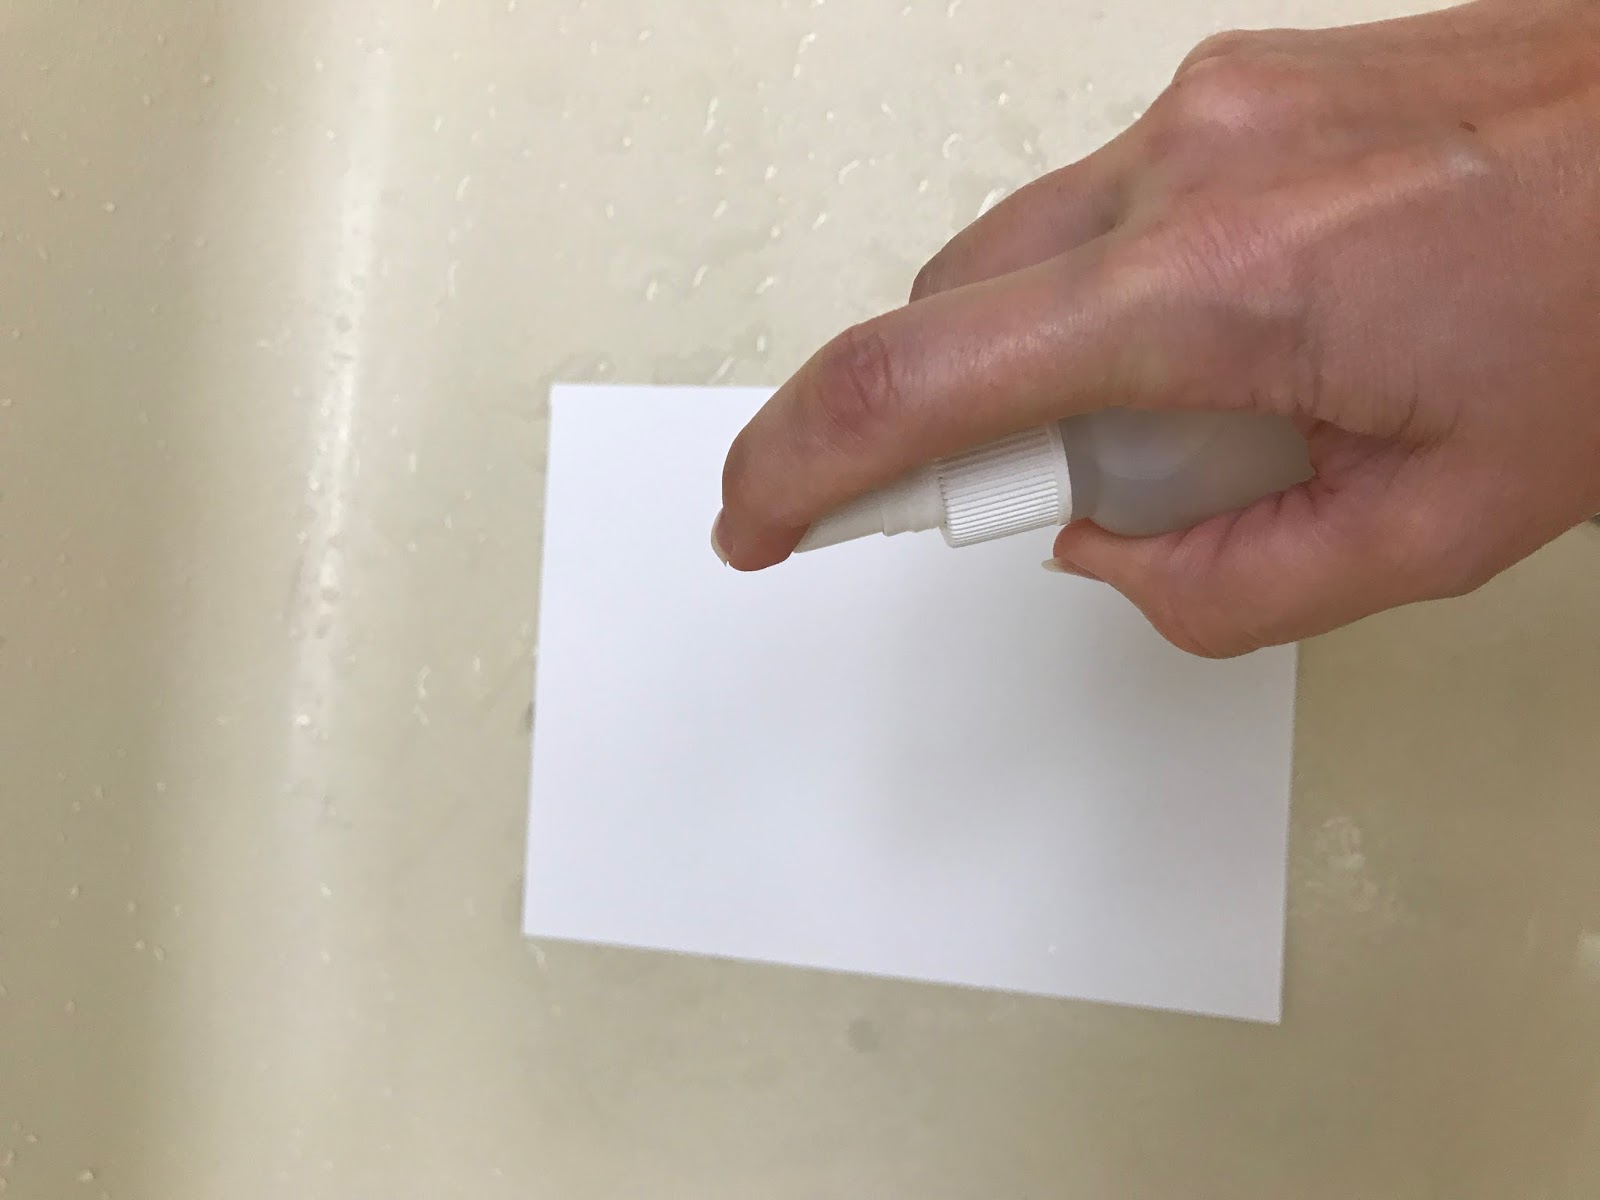
Start by wetting the paper. Then add powder to it. I like to hold the bottle steady and tap on it with one finger to knock a little bit of powder out at a time. You can also squeeze the bottle to release a puff of powder. This will give you more of a spread-out spray/misting of powder, but you don't really know if you're going to get a little or a lot in each squeeze.

You can see here how the color is pulled out as the powder dissolves into the water.

I like how it looks at this stage, but I decided to keep going and added a second color. Then I sprayed more water on top. I probably should have stopped above. :)


Technique B
This one is basically the opposite order from Technique A. Here we start with dry paper and add the powders first.

Then we spray it with water.


At this point you can either stop and carefully set your paper somewhere flat to dry so that the colors don't run, or pick it up by an edge and hang it up so that the colors do run down. I chose the second option.


Here's the sheet when dry. I think turned on it's side like this it kind of looks like the ocean.

Technique C
This one starts the same as Technique B with powder on dry paper. Just put the powder in the center of the paper, and when you spray the water onto it, hold your hand low and to the side so that you're spraying the water on at an angle. This pushes the dye out toward one side, and as you circle around the center spraying from all sides it will create a burst pattern.


This is one you'll want to dry flat so that the dye doesn't run down and obscure your burst.

Technique D
When you've done a sheet of paper and moved it elsewhere to dry, you will likely have leftover puddles of colored water. Don't waste them! One of the funnest and easiest techniques is to lay or dab a clean sheet of paper over them to soak up the color.


You can also let this paper dry and then use it again to soak up a different leftover color. I did that with these two papers:

Technique E
Another way to use excess ink is to place a clean sheet of paper under the ones that are hanging up to drip dry. The new paper will catch the drips, and create new patterns.

The distance the paper is from the source of the drip will affect how the pattern turns out. For the blue paper, I held the new sheet under the dripping paper myself and moved it around to place the dots where I wanted them. Being close to the source created a much cleaner, polka dot look. For the green paper, I just set it down on the floor of the tub and occassionally moved it around to catch drips in different spots as I worked on cleaning things up. The greater distance from the source caused the dye to splash a lot more when it hit the paper. I then hung this sheet up by one corner to cause the ink to run at a diagonal across the page.


I love the extra bit of interest a hand-colored background adds to projects versus plain colored cardstock. They're great backgrounds for scrapbook layouts, ATC's, and cards as well as used in making embellishments and die cuts. I used two papers I made a couple weeks ago to create a page in a deco book* I was participating in for a swap. I used the green one as a background paper and the blue to back a die cut.


* A deco book is a handmade booklet that is passed on from one person to the next, with each person decorating a page in the book according to a theme. Once it is completed it is either sent back to the original creator or passed on to someone they designate as the final recipient. It's a fun way to collect artwork from different artists and also to share your own artwork with others.
No comments:
Post a Comment