Tuesday, May 28, 2013

Getting Out of My Comfort Zone

I'm usually a fairly clean and simple kind of scrapbooker.  I don't tend to use a ton of product clustered together on my pages, though I admire those who do this well.  I think those LOs look like works of art.  I do, however, LOVE learning new techniques, so when I saw that Mou Saha was teaching a class at Big Picture Classes that would show how to use multimedia products like modeling paste and India inks, I couldn't wait to sign up.

Boy is she taking me out of my box.

I've done 3 LOs so far, and only really like one.  Not because of the techniques, but because I don't feel successful with them yet.  It's like when I look back at my first scrapbook pages and just shake my head.  I've come a looooooooooong way since then.  And I know that with practice I will get better at this new style, too.

Until then, I'll just share the one I like.  :)

We used gesso and Faber-Castell gelatos to create the background.  The gesso primer allows you to do a reverse stenciling technique and lift the color off the page.  I'm really loving the gelatos -- there are a ton of ways to use them, and they blend so nicely.  This LO is pretty much a total scraplift of the one Mou did for class.


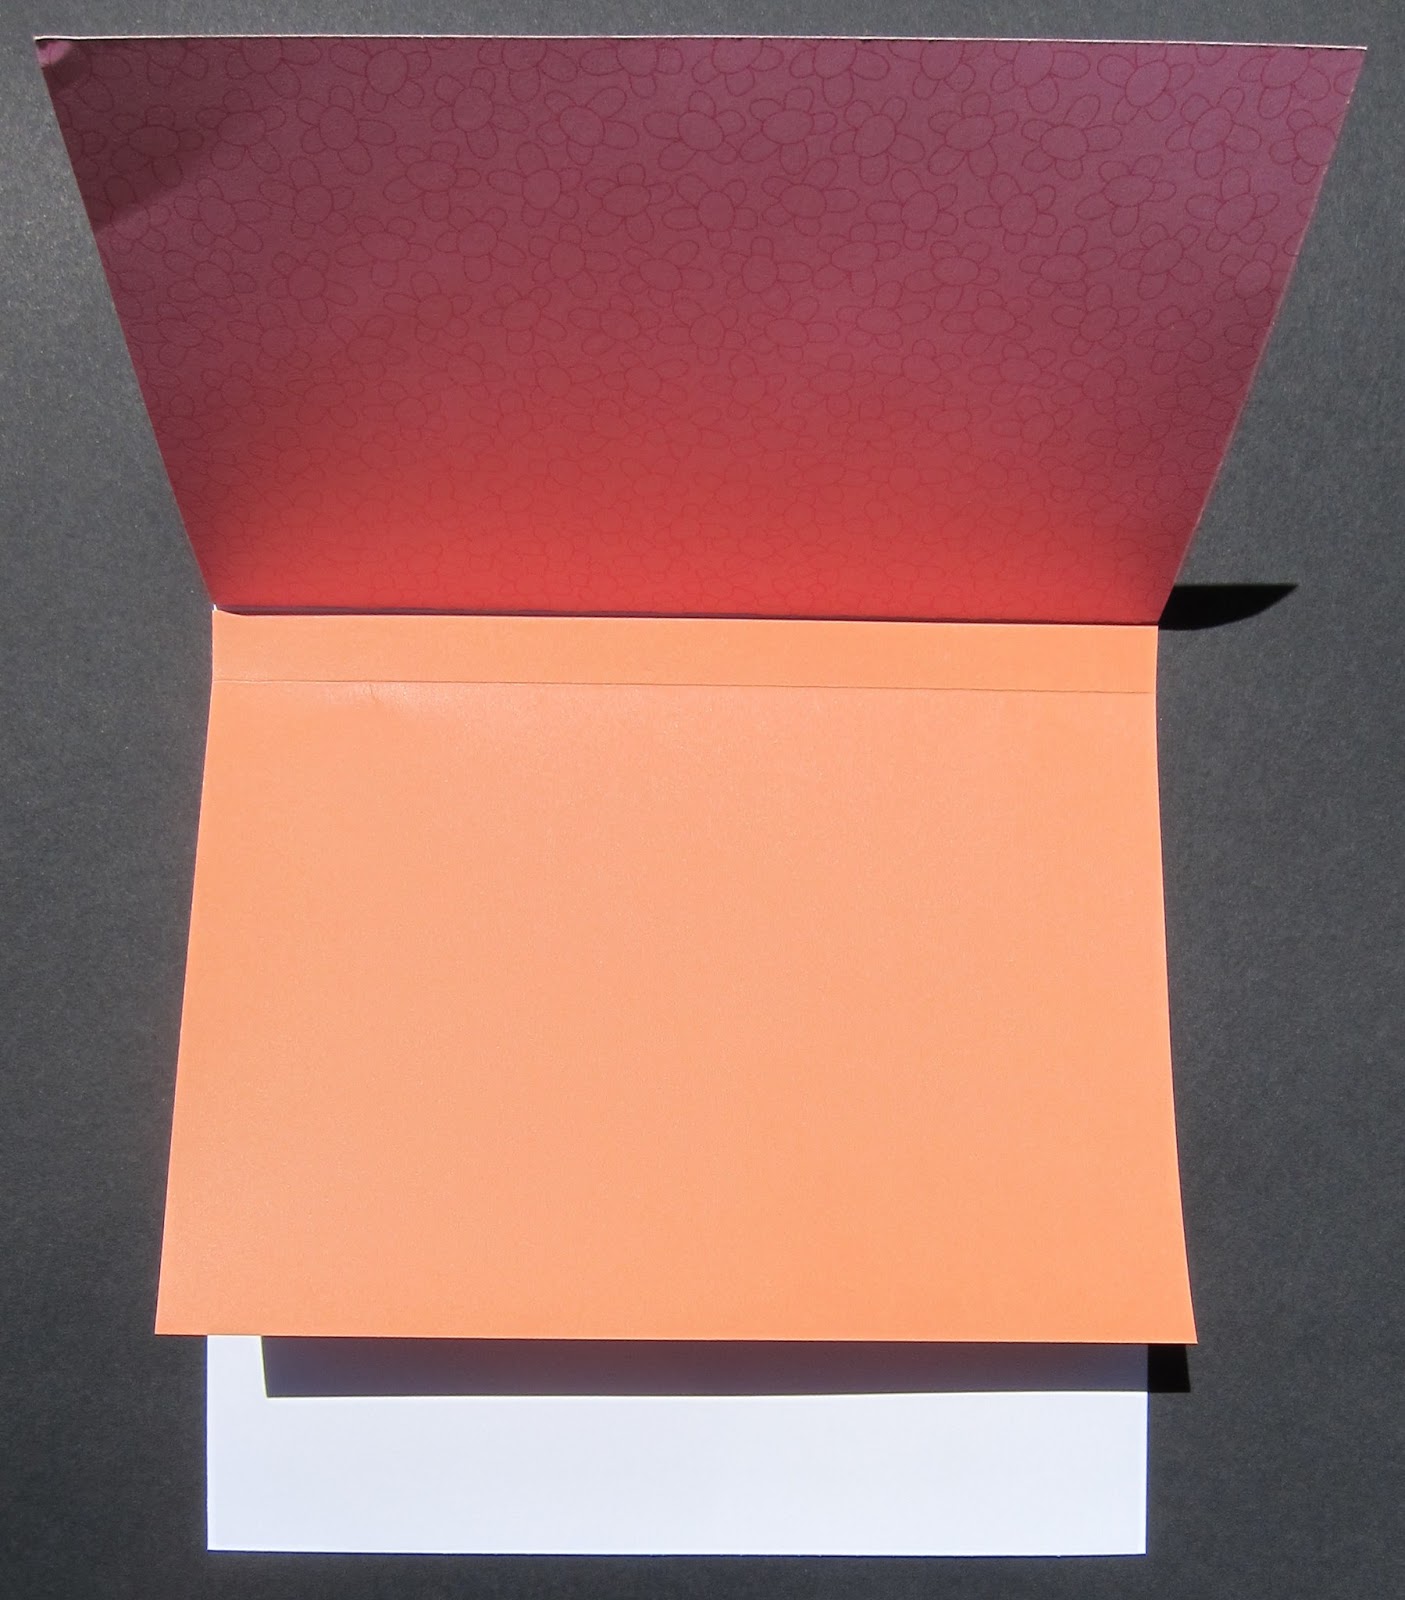
I challenge you to try a style completely different from your own.  And do it BADLY!  I mean, really make a stinker of a LO.  Because I believe that making mistakes is when learning really happens.  Then take that LO and cut off the parts that you like and throw the rest away.  Even if it's just a section of background that you could punch some butterflies out of.  That's what I did with my modeling paste LO. 


It was TERRIBLE.  But I liked the actual modeling paste parts.  So I cut them out and will try to use them on something else.  I still learned how to use the paste, and what colors of gelatos just shouldn't be on a page together.

In case you're interested, the class is Get Artsy at Big Picture Classes.

Thursday, May 23, 2013

The Party Doesn't Stop Here

Wow, as the end of the school year approaches, things sure do get crazy busy!  I've been running all over the place getting kids to track practices, dance class, getting ready for recitals and school programs, volunteering for all kinds of classroom activities, and going to end-of-the-year teas, luncheons, and parties.  Whew!  Unfortunately, the blog is being a little neglected right now.  Sorry about that!

Here is another idea for upcycling some things you might have around the house to make easy and meaningful scrapbook pages:
*****

I've had a lot of fun doing birthday parties for my kids, and a lot of that fun is in decorating for them.  But once the party's over, should the decorations just be relegated to the trash can?  Of course not!  Having two boys just 19 months apart means I've been able to use some of the decorations for both of them, but I also decided to use some for a scrapbook layout.  This LO is almost entirely made of upcycled party decorations!


The background stripes are made from the streamers that hung from the ceiling, the square Pokemon pictures were cut from the plastic table cloth, the "flags" are cupcake picks, the round Pokemon decoration on the right page is cut from one of the paper plates, and the spokes coming from it to the pictures are ribbons from the balloons and pinata.  The only scrapbook supplies I used were 3 pieces of 12x12 cardstock (I glued two together on the right to create a pocket for his birthday cards and a copy of the invitation), the letter stickers, and the "friends" punch and paper scraps I used to make the journal tag in the upper right corner.

Monday, May 6, 2013

Mini Flip Album Tutorial

I don't know about you, but I take waaaaaay too many photos.  Especially at Christmas or one of my kid's birthdays.  I feel like I need to document the decorations, the people celebrating, and every present.  Thank goodness for the advent of digital cameras!  I used to go through A LOT of film.  :)

The problem comes when I go to scrap these events.  I have a hard time narrowing down which photos to use, which means I've had to get creative in order to fit them all in.  One of my favorite ways to do this is by using a flip element on my page.


Believe it or not, I fit 80 photos onto this 2-page layout!  36 are on the index card that came with my photo order from Shutterfly.  Two others are scrapped the usual way on the right page.  The other 42 are in the two flip albums I made.  Here's how you can make your own flip album:

photo mats
Ingredients:

  • one 5x6.5" cardstock mat for every two photos in your album
  • one cardstock base (see directions for how to measure the size you'll need)
  • adhesive (I like using a strong adhesive like Beacon's 3-in-1 because the mats will have weight from the photos and will be handled a lot while flipping, so you want a good strong bond)
Tools:
  • Paper Trimmer
  • Scoring surface and bone folder
Directions:

   1.  Determine how many photos will go in your flip album, and cut one mat for every two photos.  In my example, I have 5 mats for 10 photos.  Each mat will measure 5x6.5".

   2.  Cut a base from cardstock.  The width will be 6.5".  You'll need to do a little Math to figure out the height.  The way you do this is to multiply the number of mats you have by 0.5, then add 4.5 to that answer to see how long your mat needs to be.  For my example I have 5 mats, so 5 * 0.5 = 2.5 and 2.5 + 4.5 = 7.  My cardstock base is 6.5x7".

Step 3

   3.  Score each mat 1/2" in along the 6.5" side.  This 1/2" strip will anchor the mat to the base.


Step 4

 4.  Place adhesive along the 1/2" anchor strip.  Attach the mat to the top of the base, lining up the anchor strip with the top edge of the base.


Step 5

  5.  Fold the first mat at the score line and lift up.  Attach the second mat underneath the first, lining the top up against the scored edge of the first mat.  Continue adding all mats in this way.
side view of 5 mats lined up together


ready for photos!

  6.  Your flip album is complete!  Add photos as desired.  Each side of a mat will fit one 4x6 or two 3x4 photos.  The album can also be placed vertically or horizontally on the page to accommodate vertical or horizontal photos.